
Use a timeline to showcase important dates in an interactive display.
August 5, 2020Create a Timeline to showcase important dates.
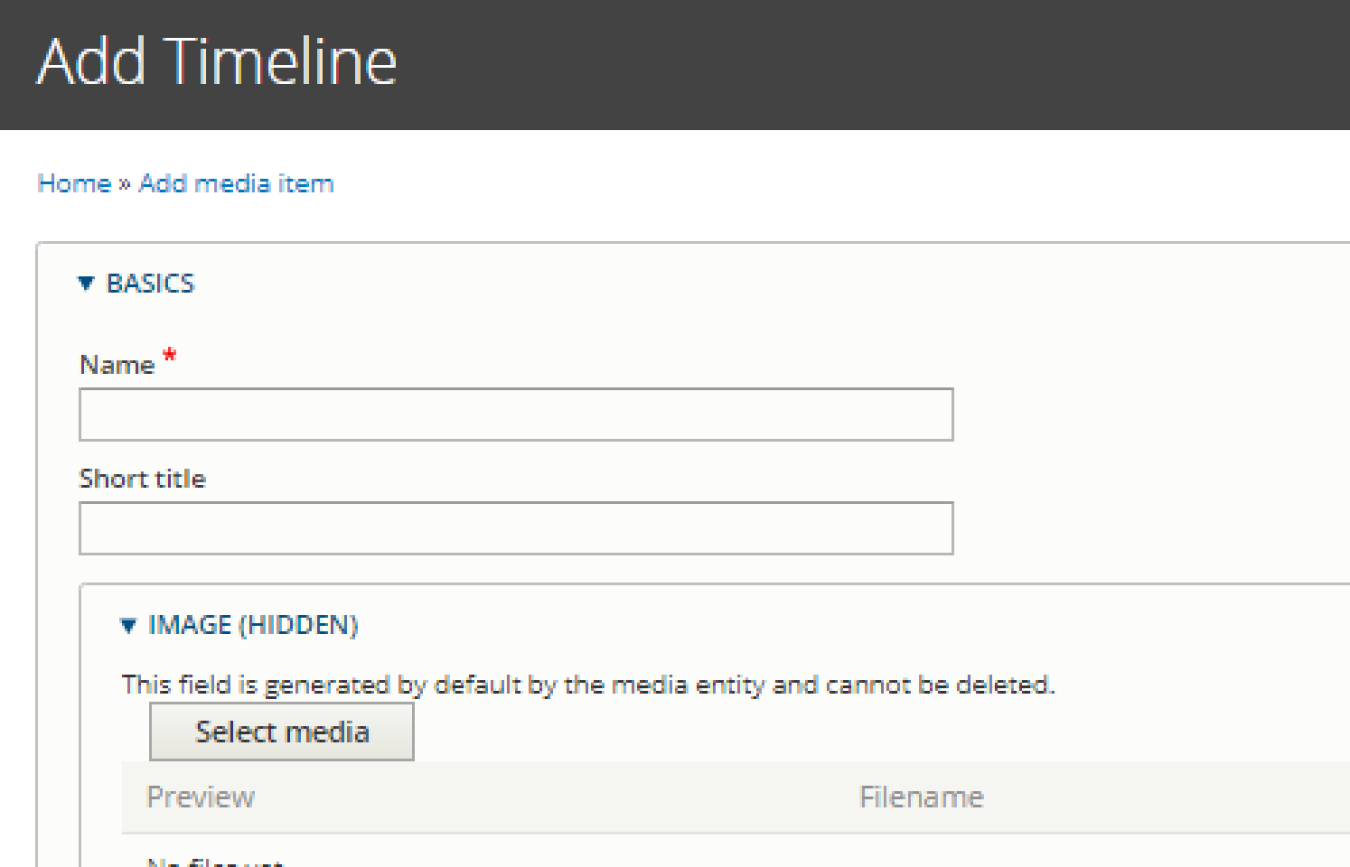
How to Create a Timeline:
- Select Add Timeline under the Content - Add Media option of the shortcut bar
- Enter the Name for the Timeline.
- Optional: Enter the Short Title. A shorter version of the title for listings, blocks, or search results.
- Enter the Image for the Timeline. This field is generated by default by the media entity and cannot be deleted.
- Enter the Headline for the timeline.
- Enter the Body for the timeline.
- Enter the Start Date for the timeline (required). Date format: Year only (2014) Full date (2014, 1, 23)
- Enter the End Date for the timeline. Date format: Year only (2014) Full date (2014, 1, 23)
- Enter the Timeline Media Remote.
- Add media to the Timeline Media Local.
- Add Timeline Media credits.
- Add Tags
- Add more timeline items, as necessary.
- Enter taxonomy term(s) as appropriate.
- Select the Primary Office under Office Assignments if prompted.
- Optional: Edit the Revision Information, URL alias, and Authoring Information as necessary.
- Click save to successfully add your Interactive.